MAI Journey
The MAI journey is a popup that shows to certain visitors of the Sports websites to add engagement for available promotions.
Content > Vanilla.Mobile > m2.WhiteLabel > App-v1.0 > Messages
Creating the Main Components
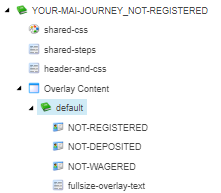
There are 3 main components to create for this type of build, NOT-REGISTERED, NOT-DEPOSITED, and NOT-WAGERED components.
For simplicity, since there are already built components for these, we can just duplicate existing components and rename the duplicated items according to our ticket.
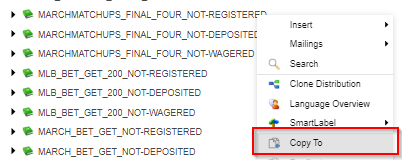
The best practice for naming each items is to use Uppercase only. Use shortened name from your ticket separated by _.
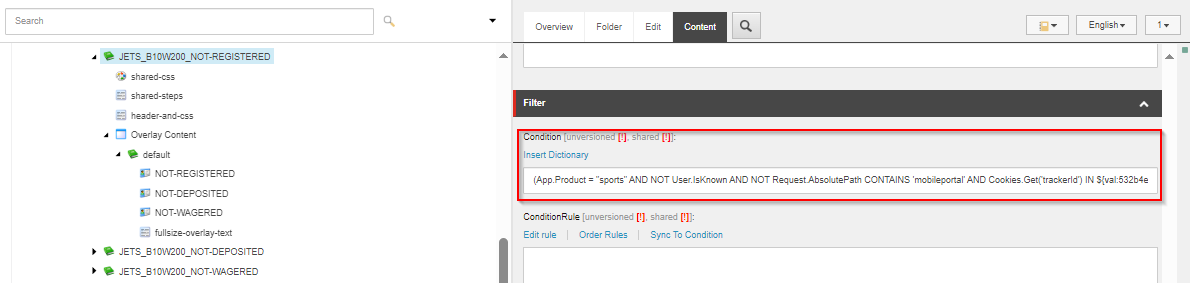
Filter
(App.Product = "sports" AND NOT User.IsKnown AND NOT Request.AbsolutePath CONTAINS 'mobileportal' AND Cookies.Get('trackerId') IN ${ val: {Overlay Content Rest ID }.parameters[trackers] }) OR QueryString.Get('qa') = { Custom Filter }
The filter has 2 parts that we need to change the values of:
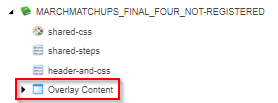
Overlay ContentRest ID
The Overlay Content can be located on NOT-REGISTERED > Overlay Content
- Custom Filter - The filter naming does not have any specific rule, but for best practice we use the name we used for naming the 3 main components and make it lowercase.
Ticket Name: PS_934896 RUSH BetMGM Jets B10G200 Instantly Filter: jets-b10g200
Prefix each filter with numbers 1 - 3, as we need to use a unique filter for NOT-REGISTERED, NOT-DEPOSITED, and NOT-WAGERED components.
For Example:
| Filter | Component |
|---|---|
jets-b10g200-1 | NOT-REGISTERED |
jets-b10g200-2 | NOT-DEPOSITED |
jets-b10g200-3 | NOT-WAGERED |
After having the 2 parts for the filter we can place it on the full filter, refer to the template above.
And lastly go into each of NOT-REGISTERED, NOT-DEPOSITED, and NOT-WAGERED Content tab, and place it on the Condition field under the Filter section.
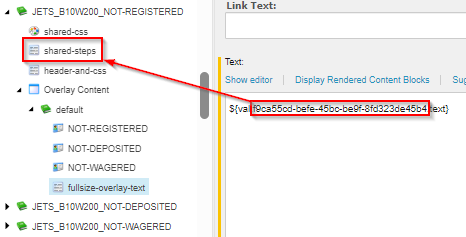
Steps
- Get the
Rest IDvalue of theshared-stepscomponent and place it as the value of theTextfield. Wrap it on<p></p>tags.
<p>${val:{shared-steps Rest ID}.text}</p>
-
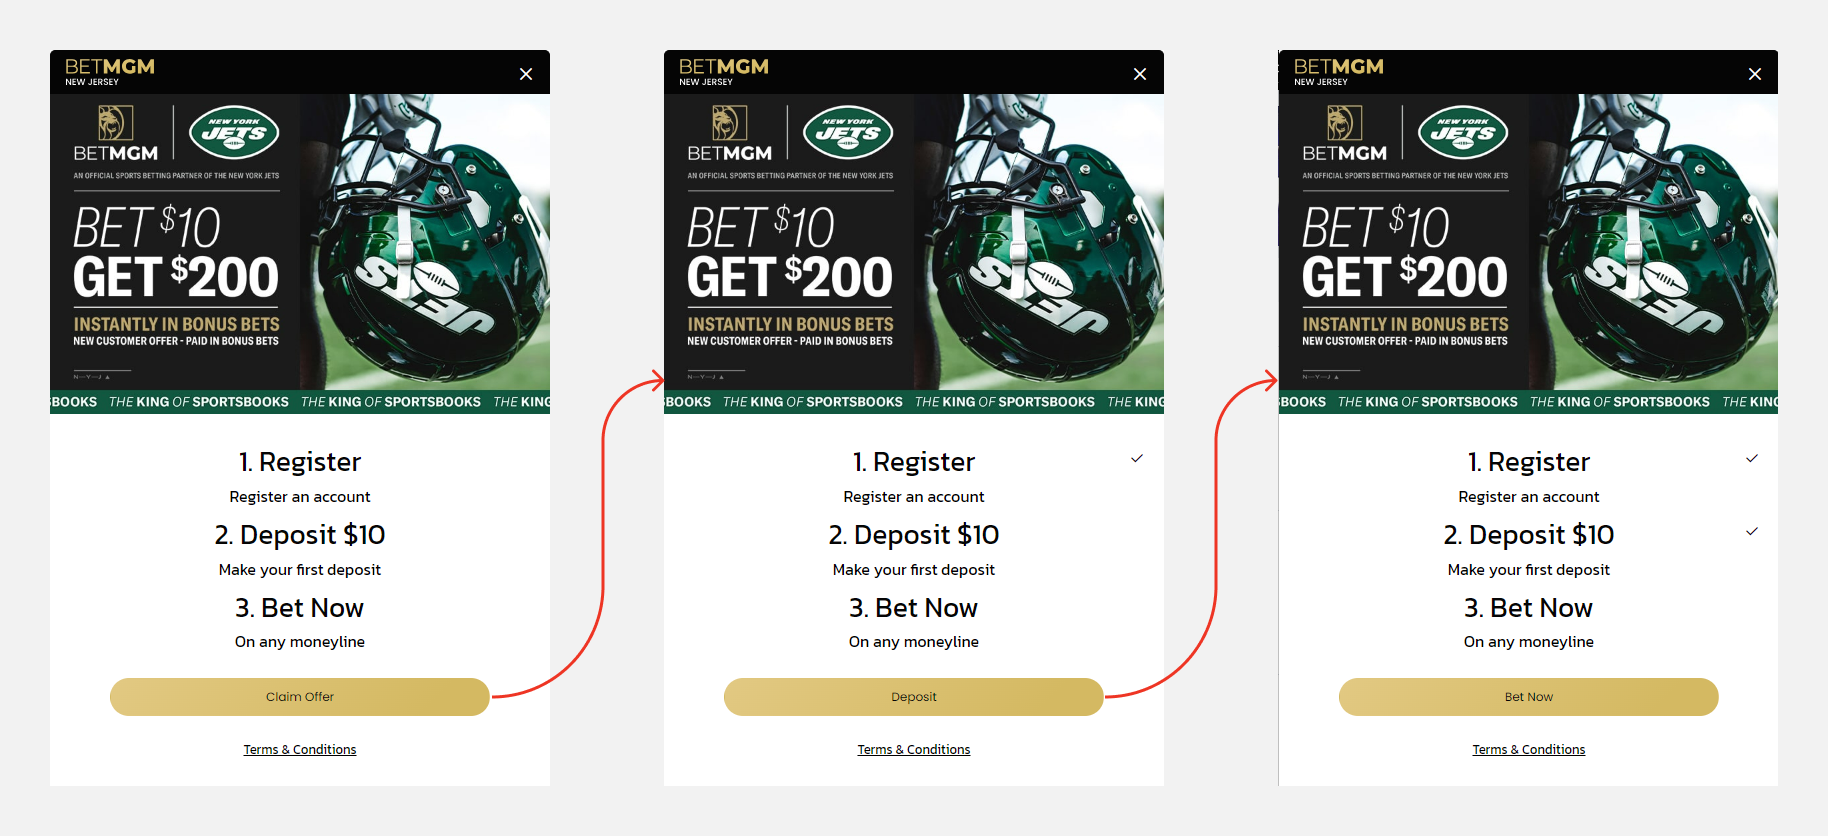
Setting the popup contents. There will be 3 popups that will show for the user, each popup shows what step the user had already done. The following fields will contain the contents that these popup show.
Since most of the times Bet & Get are the type of promotions to be used for MAI journey tickets, the steps are similar with only changes depedending on the values or amounts, and the specific sport in which it is implemented. The fields to update can be seen under the
Parameterssection.
| Field | Value |
|---|---|
| step-1 | Register |
| step-1-cta | Claim Offer |
| step-1-cta-link | |
| step-1-description | Deposit {Amount to Bet} |
| step-2 | Deposit |
| step-2-cta | Claim Offer |
| step-2-cta-link |
|
| step-2-description | Make your first deposit |
| step-3 | Bet Now |
| step-3-cta | Bet Now |
| step-3-cta-link |
|
| step-3-description | See Step 3 Description guide below |
| terms-and-condition-cta | Terms & Conditions |
| terms-and-conditions-link | Landing Page Smartlink |
Landing pages are also built along side MAI Journey tickets, use the smartlink to the landing page for the Terms and Conditions link.
Step 3 Description
The description will depend if the promotion is based either for a team or league and an event or a Welcome Offer type of promo.
| Team or League | |
| Event or Welcome Offer | |
-
Connecting contents for
NOT-DEPOSITED, andNOT-WAGERED- SinceOverlay Contentis only underNOT-REGISTERED, for the other components to use the same contents, we need to update thecontentcomponent for each.Under
NOT-DEPOSITED, andNOT-WAGEREDthere is acontentcomponent. Open it and under theData > Itemsfield, make sure to use the correctOverlay Content.
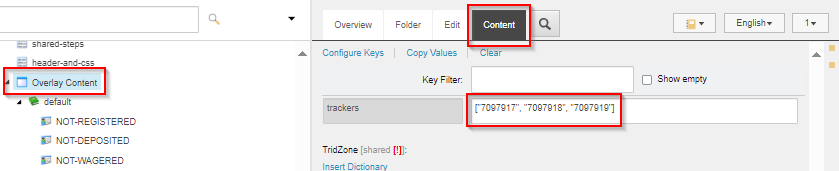
Tracker IDs
The tracker IDs are group of numbers that is used to display the popups to specific players. The tracker IDs is provided in the Documents tab of your Workfront ticket, it is a spreadsheet it may be named as tracker ID(but sometimes not, so check the provided spreadsheets).
Sometimes the Tracker IDs spreadsheet file contains the IDs for other state, so make sure to only use the appropriate IDs for your ticket.
Tracker IDs Spreadsheet Example

These values will be placed on the Overlay Content. Open its Content Tab, and under Parameters place the IDs on the tracker field.
Place it inside a bracket and enclose every ID on double quotes separated with commas.
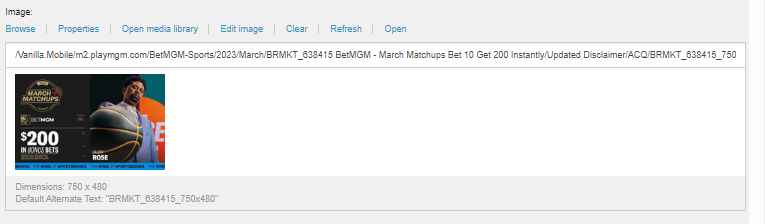
Images
The images is placed inside the NOT-REGISTERED, NOT-DEPOSITED, and NOT-WAGERED under the default component inside the parent NOT-REGISTERED and not to be confused by it.
There is only a single image to use, copy the path of the 750x480 image and place it on the Data > Image field on all for NOT-REGISTERED, NOT-DEPOSITED, and NOT-WAGERED.
Previewing
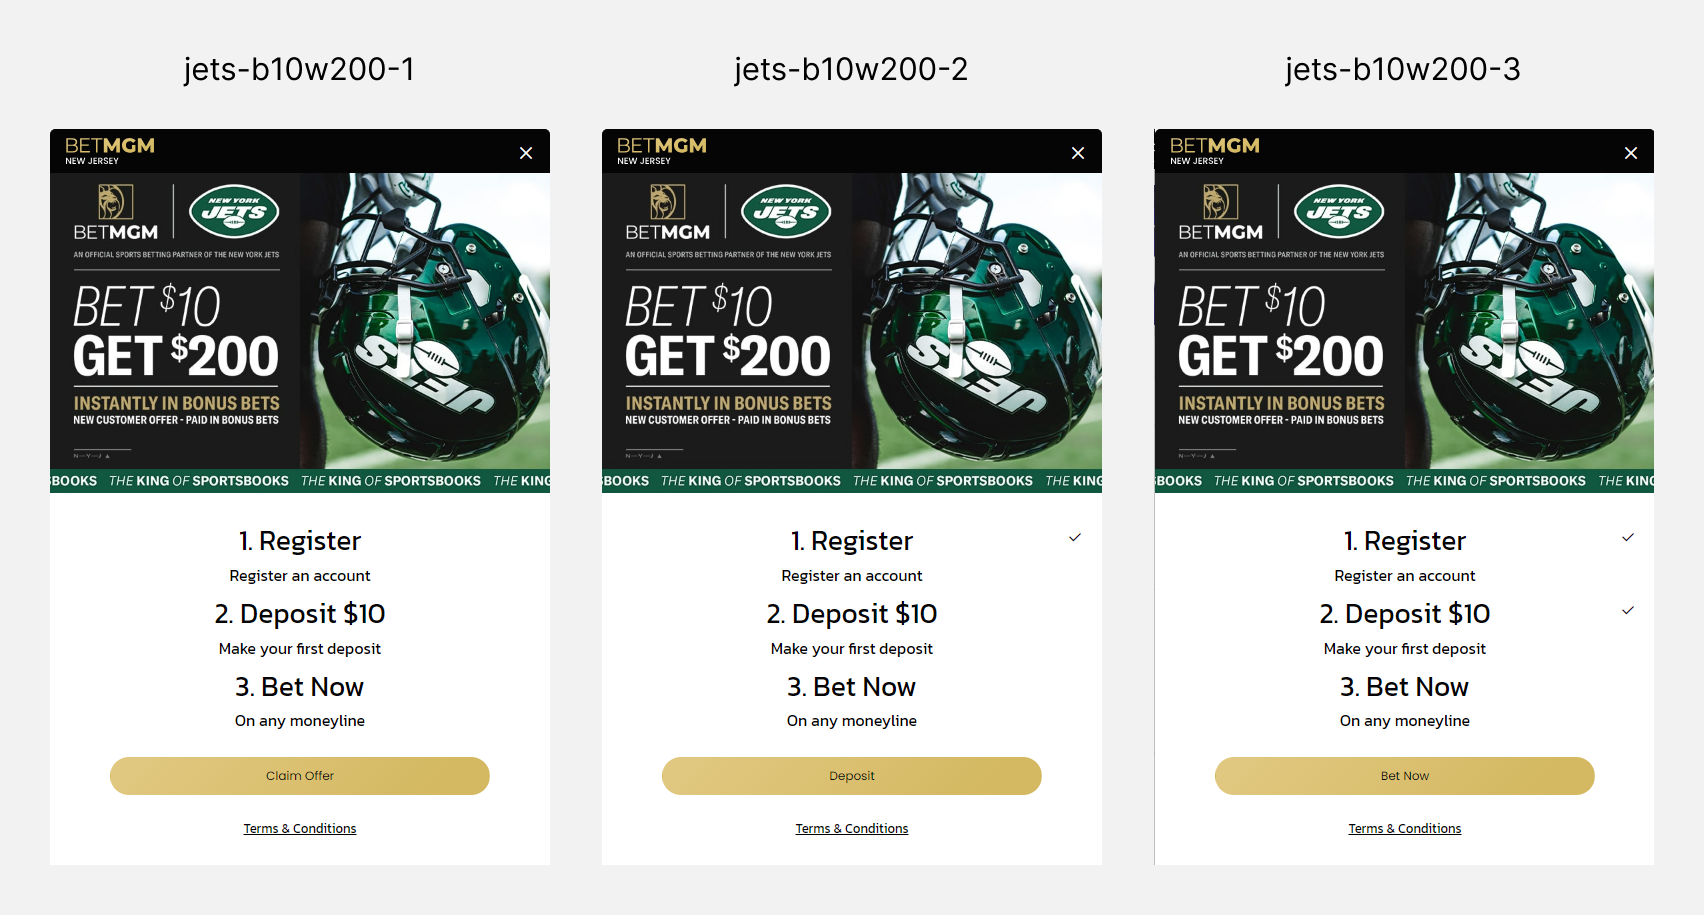
To preview your created MAI Journey, go to the sports homepage of the appropriate state and add the filter as a query parameter.
Step 1: https://sports.nj.betmgm.com/en/sports?qa=jets-b10w200-1
Step 2: https://sports.nj.betmgm.com/en/sports?qa=jets-b10w200-2
Step 3: https://sports.nj.betmgm.com/en/sports?qa=jets-b10w200-3
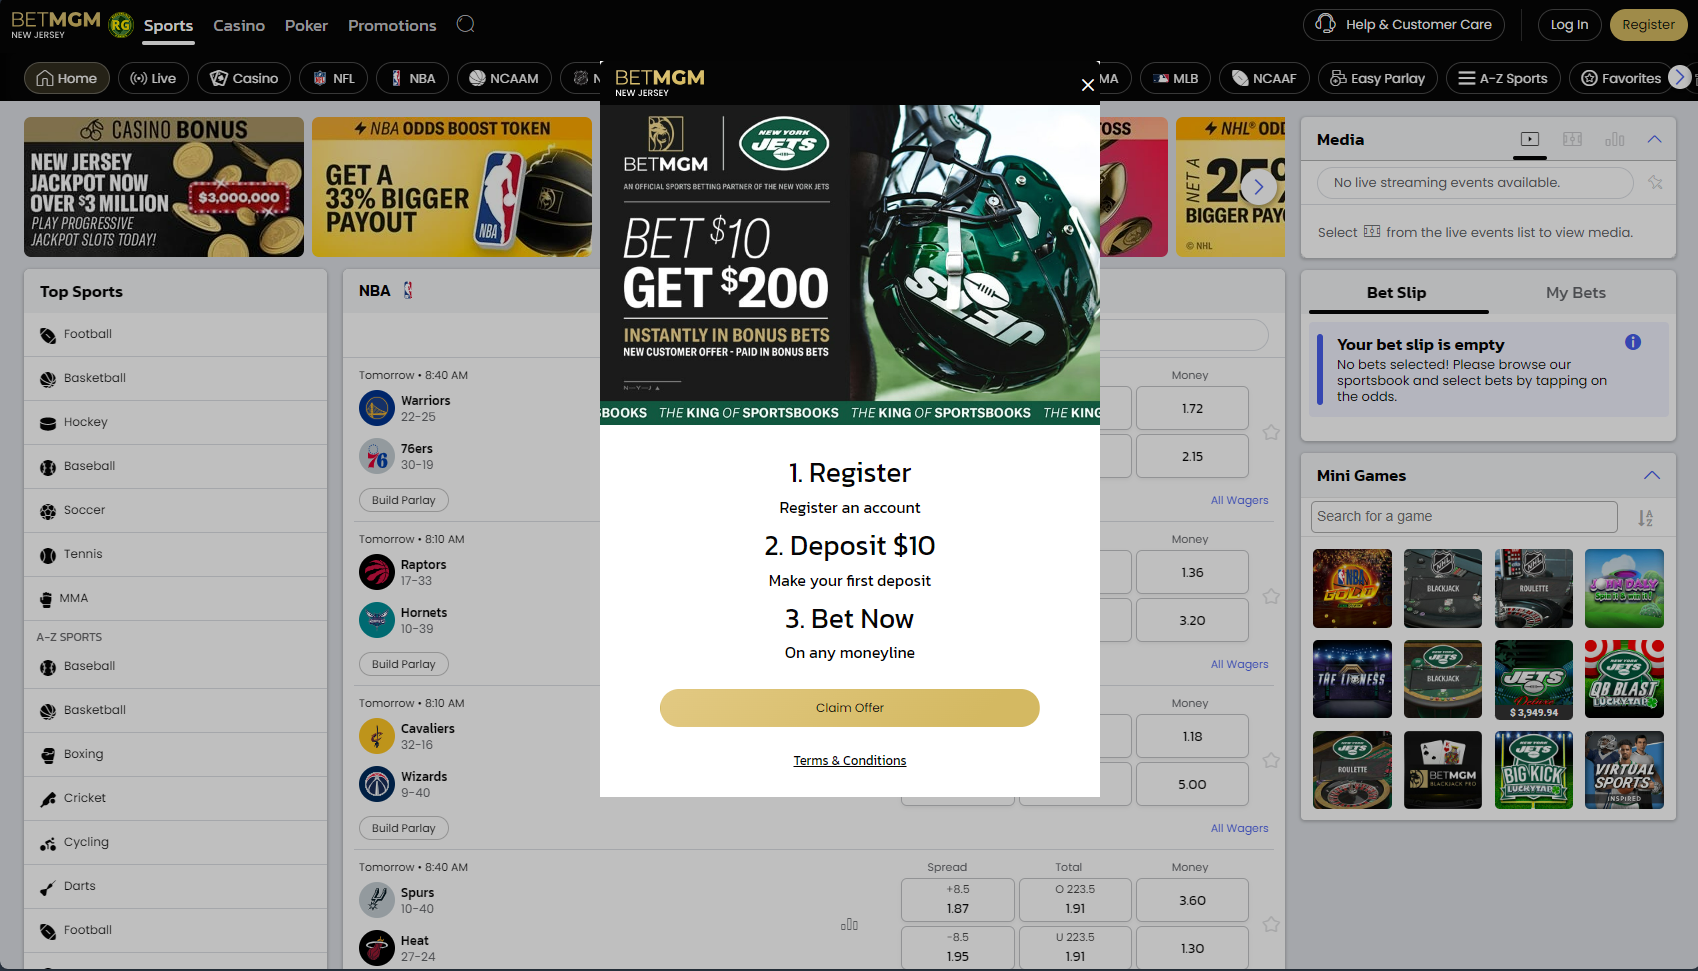
Upon checking the website it should show a popup each with different steps accomplished. Take a screenshots of these popups and inlude it on your comment along with the Preview URLs
MAI Journey Preview Example